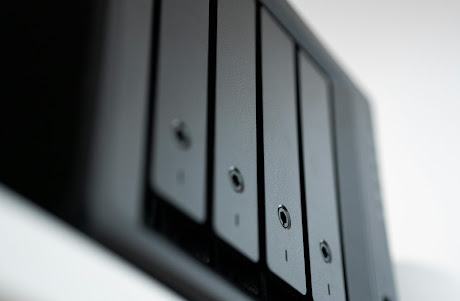
In the era of digital content, the need for efficient data storage and management has never been more critical. Whether you're a tech enthusiast, a hobbyist, or someone looking to enhance their home computing setup, creating a DIY NAS (Network Attached Storage) homelab can be a rewarding and cost-effective solution. This article will guide you through the process of building your own NAS homelab, exploring the benefits and offering practical tips for implementation.
Benefits of a Homelab
1. Data Centralization:
A DIY NAS allows you to centralize your data in one location, making it easily accessible to all devices on your home network. This ensures seamless data sharing and collaboration among various devices.
2. Data Security and Redundancy:
Implementing RAID (Redundant Array of Independent Disks) configurations on your NAS provides data redundancy, protecting your information from potential drive failures. This adds an extra layer of security to your digital assets.
3. Customization and Scalability:
Building your own NAS homelab provides the flexibility to choose hardware components that align with your specific requirements. Additionally, it allows for easy scalability as your storage needs grow over time.
4. Learning Experience:
Creating a DIY NAS homelab offers an excellent opportunity to learn about networking, storage technologies, and server management. It's a hands-on experience that can enhance your technical skills.
Building Your NAS Homelab
1. Selecting Hardware:
Begin by choosing appropriate hardware components based on your storage needs and budget. Consider factors such as processor speed, RAM, and the number and size of hard drives. Popular choices for NAS builds include low-power processors like Intel's Celeron or Atom series.
2. Choosing a NAS Operating System:
Decide on a NAS operating system that suits your preferences and skill level. Popular choices include FreeNAS, OpenMediaVault, and NAS4Free. These operating systems provide user-friendly interfaces for managing your NAS and offer a range of features, including support for RAID configurations and file-sharing protocols.
3. Hard Drive Configuration:
Set up your hard drives in a RAID configuration to ensure data redundancy and performance. RAID 1, RAID 5, or RAID 6 are common choices, depending on your priorities for redundancy and storage efficiency.
4. Network Configuration:
Connect your NAS to your home network using Ethernet for optimal performance. Ensure that your network is properly configured to handle the increased data traffic from your NAS.
5. Remote Access and Cloud Integration:
Many NAS operating systems offer features for remote access and cloud integration. This allows you to access your files securely from anywhere, providing added convenience and flexibility
6. Data Backup Strategy:
Implement a robust backup strategy to protect your data from unforeseen events. Consider external backups to additional storage devices or cloud services to ensure data integrity.
Building a Homelab is a rewarding endeavor that not only enhances your home data management but also provides valuable insights into networking and storage technologies. With the flexibility to customize and scale according to your needs, a Homelab is a cost-effective solution for those seeking efficient and secure data storage. Take the plunge into the world of Homelabs, and unlock the potential for a centralized, secure, and scalable data storage solution in the comfort of your own home.
